
At last! The first part in this series described how to navigate and use tools in and around a tree. The second covered how to build a bed of branches — itself a kind of specialized tool for catching large tree sections. What's next?

Prior to actually getting started on the trunk, Matt (the arborist) demonstrated the "hinge cutting" technique that he'd be using up in the air. The technique starts with a "face notch" cut, which removes a triangular wedge of wood from the side of the tree that faces the intended fall direction. The shape of that cut basically "aims" the tree.
Typically, the next is a "back cut," from the rear of the tree toward the corner of the face notch, which actually allows the tree to fall. In this case, Matt used a "plunge cut" or "bore cut," in which the back cut is accomplished in two separate steps.
You can see the hinge in action at the lower-right corner of the photo. The face notch is on the left, and the back cuts happened on the right. At this point, the falling trunk is still physically attached to the stump by a thin strip of wood at the corner of the face notch; that's the hinge.

Mark (the land owner, and Matt's friend) explained that the torn wood (the tall, jagged sections) showed which cuts were made cleanly by the chainsaw, and which areas were intact when the tree started falling. The tree fell toward the bottom-right of this photo.
Mark's hand indicates the hinge area of the cut, at the corner of the face notch. The hinge allows the tree to start falling while maintaining directional control. Then when the tree nears the ground, the two angles of the face notch meet, causing the hinge to tear out. Once the hinge is torn, the trunk is detached from the stump, and can rest completely on the ground.
The second section of tearout, near the back of the tree, is indicative of the plunge-cutting technique. The plunge cut itself clears out the middle of the tree, while leaving the hinge and a back-strap intact. When the arborist is happy with the preparation, they cut the back strap and the tree falls in the direction of the face notch.

Because the hinge has to be fairly thin, there's a possibility of the hinge tearing out during the prep process and the log falling in an uncontrolled direction, possibly injuring the arborist.
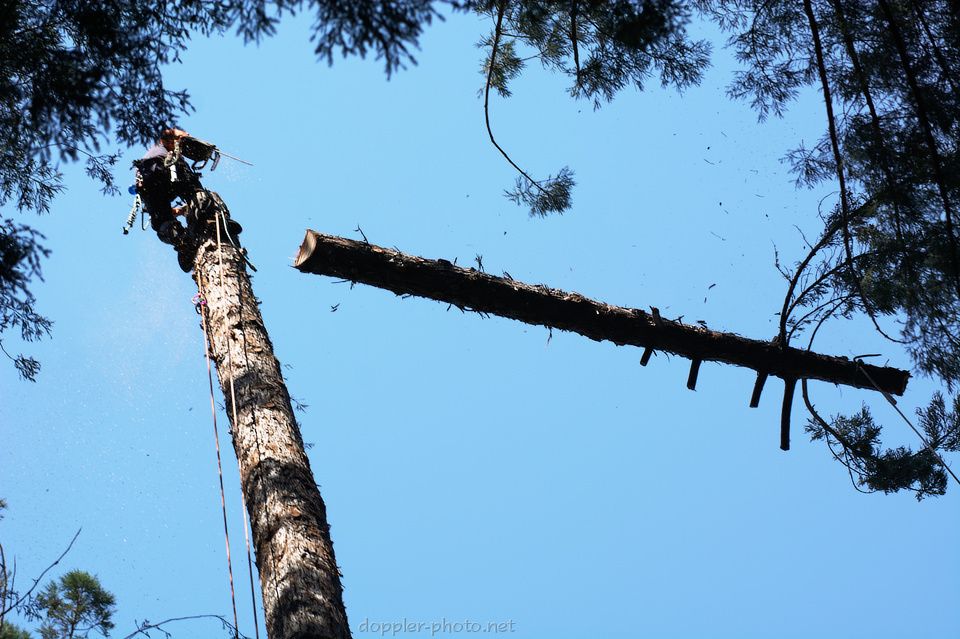
So Matt tied two ~150-foot ropes together, tied his end to the very top of the trunk, and then had us apply light but constant tension from a safe distance. The tension would keep the hinge section from tearing prematurely, and would also help to avoid pinching the chainsaw during the plunge and back cuts.

Then Matt would work his magic…

…and logs would rain from the heavens. Safely. The full Timber! series:
- Timber! How to navigate a tree
- First, you make your bed…
- …And then you drop things in it
- Run the ground game


![[Doc Diaries] The Big Leagues](/content/images/size/w960/migrated_images/2021/04/doc-diaries-big-leagues/710_3349.jpg)