
In the first day-two post, we got the tree down to a height short enough that we could fell the remainder all at once. All that was left was to make it happen.
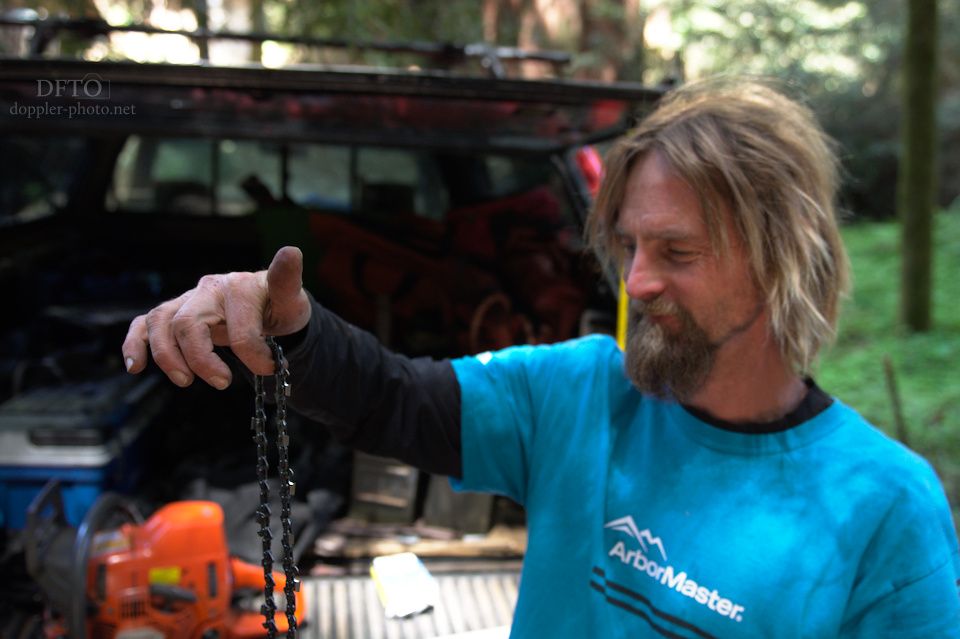
Because trees widen near the base, Matt planned to switch his standard saw to a longer bar and chain to get some extra reach. That plan had to change once he discovered that the longest chain he could find wasn't quite long enough for the bar he needed. Plan B was to fire up an old Husqvarna 3120XP that Mark had previously acquired for his chainsaw mill. It hadn't run in awhile, but some coaxing and old timer magic got it up and running.

Ever the instructor, once the chainsaw situation was handled, Matt talked us through his process for felling a tree. He started by showing us how to estimate the height of a tree (and, thus, where the top of the tree would land, once felled) by using a stick: hold the stick along your arm so that the tip reaches all the way to your chin. Then rotate the stick up to vertical. That should make a right isosceles triangle (a 90° triangle with two legs of equal length) with one corner at your face, and one corner at the tip of the stick. Finally, look up, past the tip of the stick.
Given this arrangement, any tree that lines up right behind the tip of the pointer stick is at a height and distance that would land very close to where you're standing. Of course, it's possible to improve the approximation (for instance, by keeping your head close to the ground), but even the basic technique can provide a pretty good estimate.

With the lesson done, it was time to get to work. The face notch was more challenging than on prior cuts because Matt hadn't used these particular face notch angles in awhile, and even this longer bar was only long enough to reach just past the center of the tree. So every cut had to be done incrementally, from both sides of the tree. Consequently, Matt spent a lot of time switching between the two sides, trying to line everything up just so.

And afterward, Matt explained to us why the face notch took so long, and what he'd have done differently. He mentioned that the notch angles differ between a mid-air cut (where the log is guaranteed to detach from the tree before it hits the ground) and a cut at ground level (where the arborist has to make sure that the hinge will tear out before the log rests on the ground).

Then it was back to the same procedures as before. Tension with a rope, use some wedges to start leaning the tree over, and finish the cut.

Then walk away and let gravity do the rest.

Once the "BOOM!" of the landing stops reverberating through the hillside and the dust settles, you can finally relax. Chat with passersby, check how good your tree landing estimate was, and take a break before the cleanup begins. Of course, stump removal is a whole nother project, but for now, the tree is down. Phew…


![[Doc Diaries] The Big Leagues](/content/images/size/w960/migrated_images/2021/04/doc-diaries-big-leagues/710_3349.jpg)